OH MY GOSH! I am so excited about this one! Thanks to a patient and supportive husband who took the kids so I could spend many, many, many hours working and reworking on these designs...I have finally finished. Dun da da da!


3D BIRD CAGES!
These will hopefully be added to the silhouette store monday. http://www.silhouetteonlinestore.com/v2/viewPortfolio.aspx?artistId=2581
I will also be starting to offer some of my designs as DXF and SVG files on etsy. So those of you without a silhouette will be able to purchase them. I will make another post when this option is available.
So you are probably wondering how to make these awesome designs. Well, I have included some instructions below.
Just a few notes first:
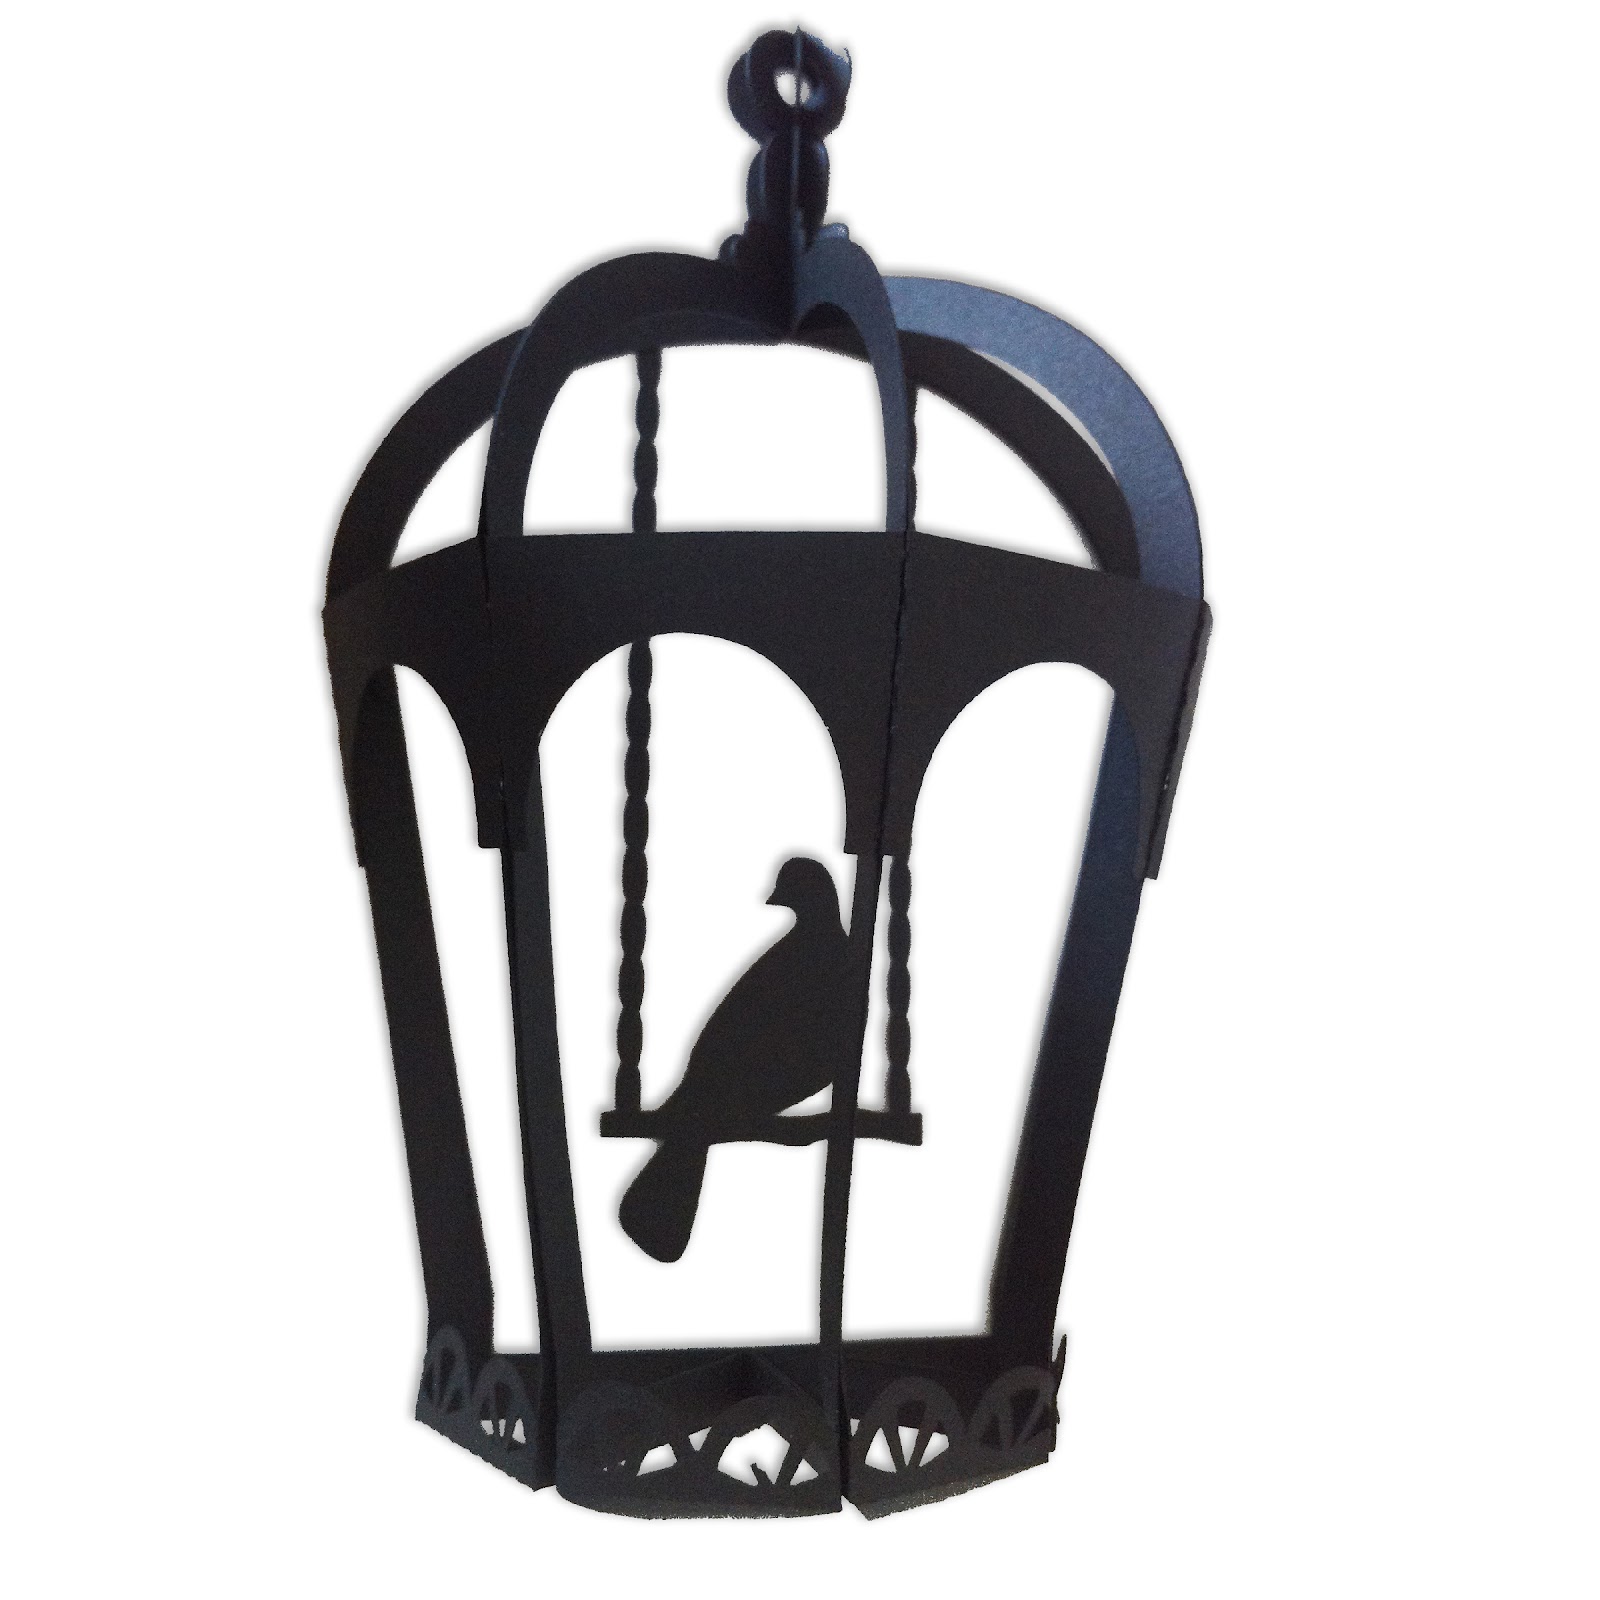
1. I only had time to make the instructions using only one bird cage design, but use the same instructions for all three birdcages shown above. They are all made the same way.
2. The first picture below is a diagram labeling all the different parts. I will be using those labels (shown in red) in the instructions. Click on the image to enlarge.
3. Because of how intricate the design is, the larger you size it the better the result.

Step 1
Cut out 8 of the side shapes, 1 center shape (with or without the bird and swing), and 1 base.


Step 2
1. Take the side shape and fold along all the dashed lines from the right to the left and the base tab towards the center.
2. Glue the connecting tabs to the outside of the left bar making sure to match up the right and left half circles. You will end up with a wedge shape (shown above) and we will call it the wedge :)
3. Repeat step 1 and 2 with the remaining 7 side shapes so you end up with 8 wedges.


Step 3
1. Glue 4 wedges together, make sure you glue and align them from the top to bottom. You will not be doing anything with the base tab right now.
2. Glue the remaining 4 wedges together so you have 2 sets of 4. These will be the front and back of your cage.

Step 4
1. Lie your center piece down. Apply glue to the cage part only. If you are using the bird and swing, don't put glue on them. Stick one set of wedges on top. You now have half a cage :)
2. Turn it around and glue the other set of wedges to the back of the center cut so that you sandwich that center piece between the two sets of wedges.

Step 5
1. Turn cage upside down and glue base to the base tabs. And you are done!


I hope that you all love these as much as I do. I am still working on more, but they take a while so please stay tuned!