I have loved seeing all
the great memories you capture with my shapes and fonts that I thought it
should be time for me to share with you!
Shiri and I have been
working on some October treats just for you! Below you will find the tutorial
on how to make your own Halloween Shadow Boxes.
Here
is a list of supplies you will need:
Shadow Frame
Your favorite Halloween Candy
Vinyl or Cardstock
Clear Glue Stick or glue pen (if using
cardstock)
Halloween Quote from My
Silhouette Store
Silhouette Machine
This
time I don’t have pictured step-by-step instructions, but it’s pretty simple to
follow along.
Step 1: In your Silhouette Studio open
the Bubble, Bubble quote and size it to fit your glass frame.
Step 2: Cut out the quote on vinyl or
card stock
Step 3a: If using Vinyl, remove letters
from the mat using transfer paper. This will help you keep all the letters
straight and easily move it to the glass.
Step 3b: If using cardstock use this
awesome tip! (This is a neat trick that not everyone knows) when you are ready
to place the letters on the glass, peel off the negative space and place it on
the glass, just tape it down to hold in place. You can then use this as a
stencil to place your letters inside so that they stay straight and evenly
spaced!
**IMPORTANT:
use a clear glue stick or glue pen when using cardstock so that you don’t get
any unwanted marks.
Step 4: Once you have your letters on,
place the glass back in your frame and fill your shadow box with whatever treat
you choose!
Voilà!
You have a one-of-a-kind Halloween decoration that your kids will be jealous
of!
You
can do this with lots of my Halloween designs as well! You will find them all
in My
Silhouette Store (and don’t forget to search past years as well). Here is
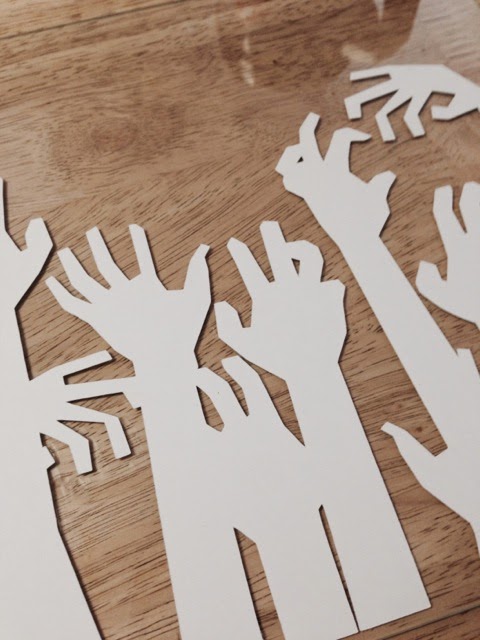
an example of another one we make with Zombie
Hands!


